• Home
  • Creative Kits
  • Creativity Time
    • Alphabet of Building
    • City of your Imagination
    • Drawing Tools
    • Colour all Around You
    • Three Dimensional Shapes
  • Nature's Architects Trail
  • About & FAQs
    • T&C
    • Team
    • Gallery
    • Reviews
  • Contact
SCHOOL FOR CREATIVE THINKERS
  • Home
  • Creative Kits
  • Creativity Time
    • Alphabet of Building
    • City of your Imagination
    • Drawing Tools
    • Colour all Around You
    • Three Dimensional Shapes
  • Nature's Architects Trail
  • About & FAQs
    • T&C
    • Team
    • Gallery
    • Reviews
  • Contact

Drawing Tools

Let's learn how to draw by starting with the basics. 
Lesson 1: Everything starts with a dot
Picture
The mark that a pen creates on the paper is a dot. 
Picture
If you connect two dots, you create a line.
Picture
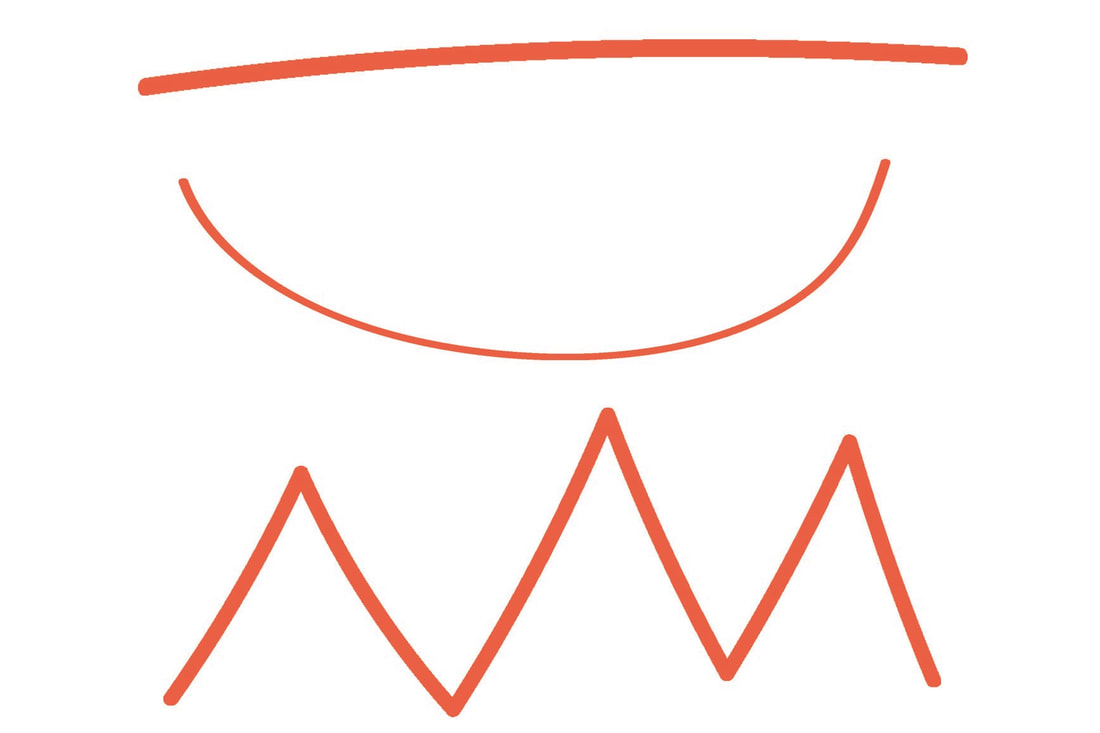
This line can be straight, or the line might be curvy or zig-caged. 
Lesson 2: Perspective Drawing 
​
​
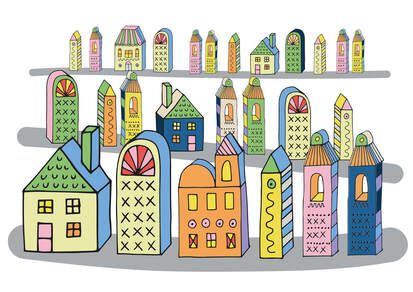
​Perspective 


Objects closer to us look bigger than objects farther away; this is called perspective. 

Look at the image. The houses appear bigger in the foreground and smaller in the background. 
Picture

​Activity 1

Choose two objects with the same size, place them next to each other and draw them. 

​Then, place one further away, and draw them as they appear to you. 

Activity 2 

One Point Perspective Drawing
Picture
Draw a point in the middle of your paper. This is the vanishing point.
Picture
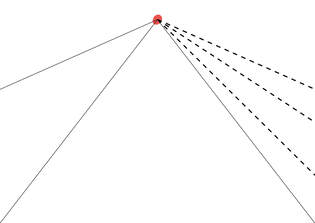
Draw as many construction lines as needed. Follow the image above.
Picture
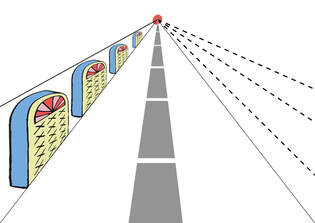
Draw a set of objects between the lines so they are bigger in the foreground, and get smaller in the background. 
Lesson 3: Outline Drawing 
Picture

​
​Outline Drawing

A drawing that outlines a form or shape of an object is called an outline drawing. 

Activity 3

Start this activity by drawing one object at a time. Then create a whole scene by outlining a few objects in your home and placing them together. 
​
Download the activity
Lesson 4: Positive and Negative Space
​Positive vs Negative 

Positive space is the space an object takes up; negative space is the space around the object
. 

 For example, in a room, the positive space is the furniture, and the negative space is where there is no furniture or other objects. 
Picture
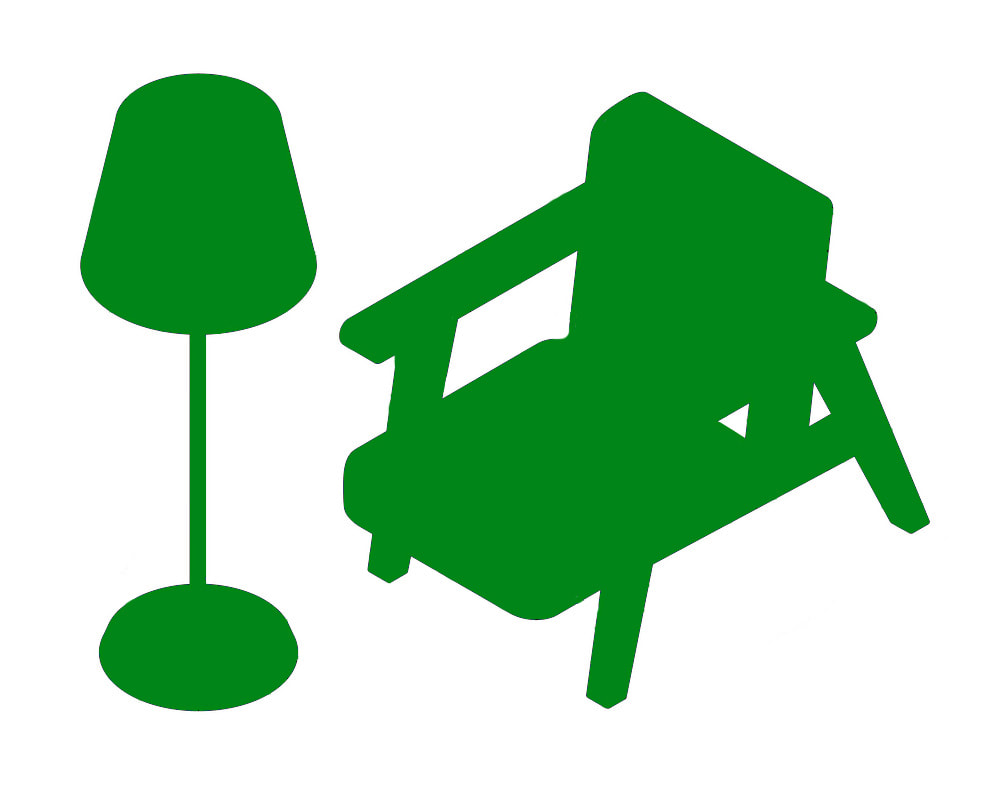
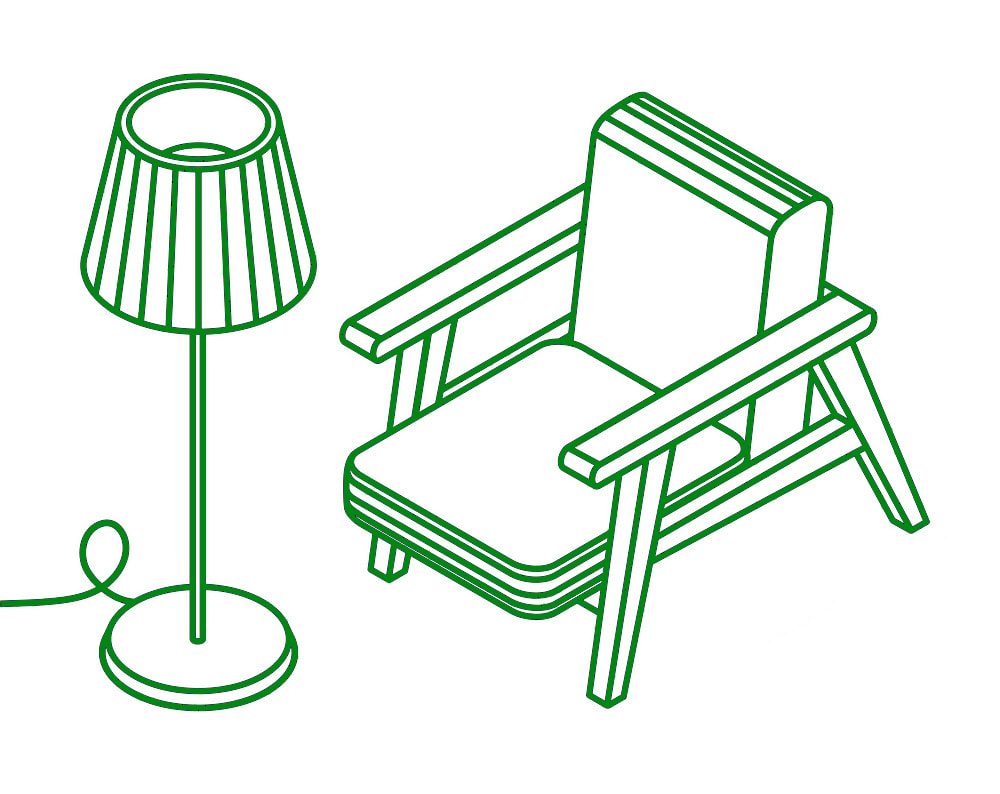
The green area is positive space. 
Picture
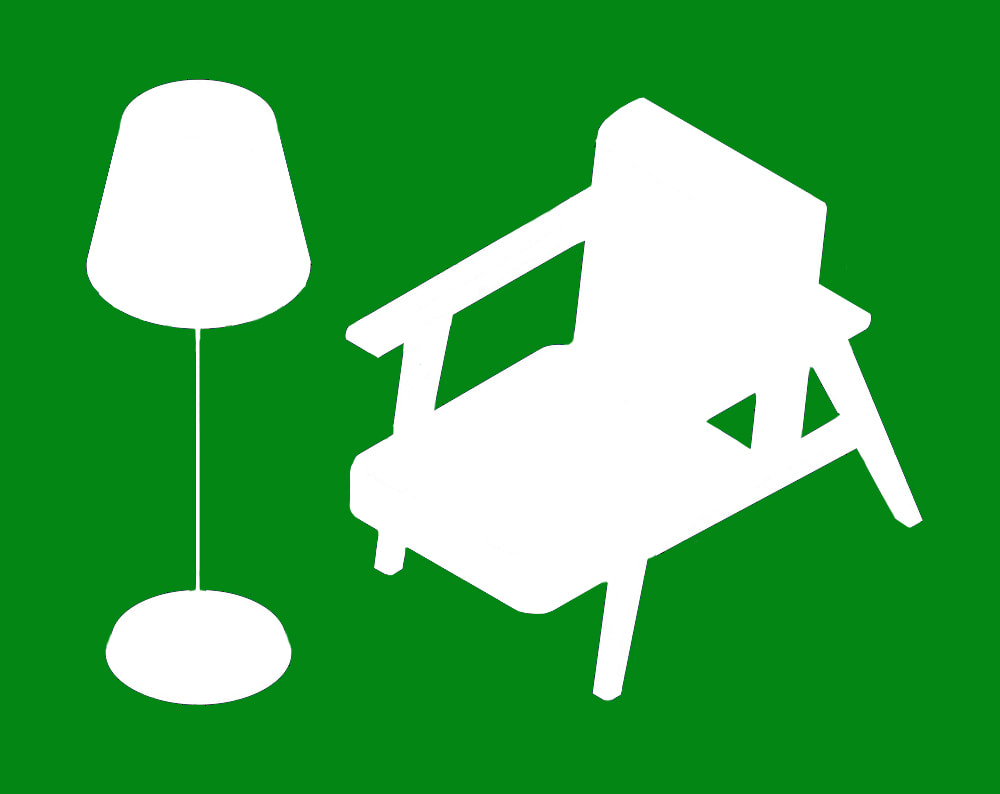
The green area is negative space. 
Activity 3

​Create a negative and a positive space by colouring in the furniture or the space around the photo in the link.
 
Download both activities here
Contact​
About Us
Reviews
Manage cookie settings
School for Creative Thinkers™  ​© 2022
  • Home
  • Creative Kits
  • Creativity Time
    • Alphabet of Building
    • City of your Imagination
    • Drawing Tools
    • Colour all Around You
    • Three Dimensional Shapes
  • Nature's Architects Trail
  • About & FAQs
    • T&C
    • Team
    • Gallery
    • Reviews
  • Contact